Conversion Adjustments in Google Ads: How to Fix Conversions You've Already Tracked
Read now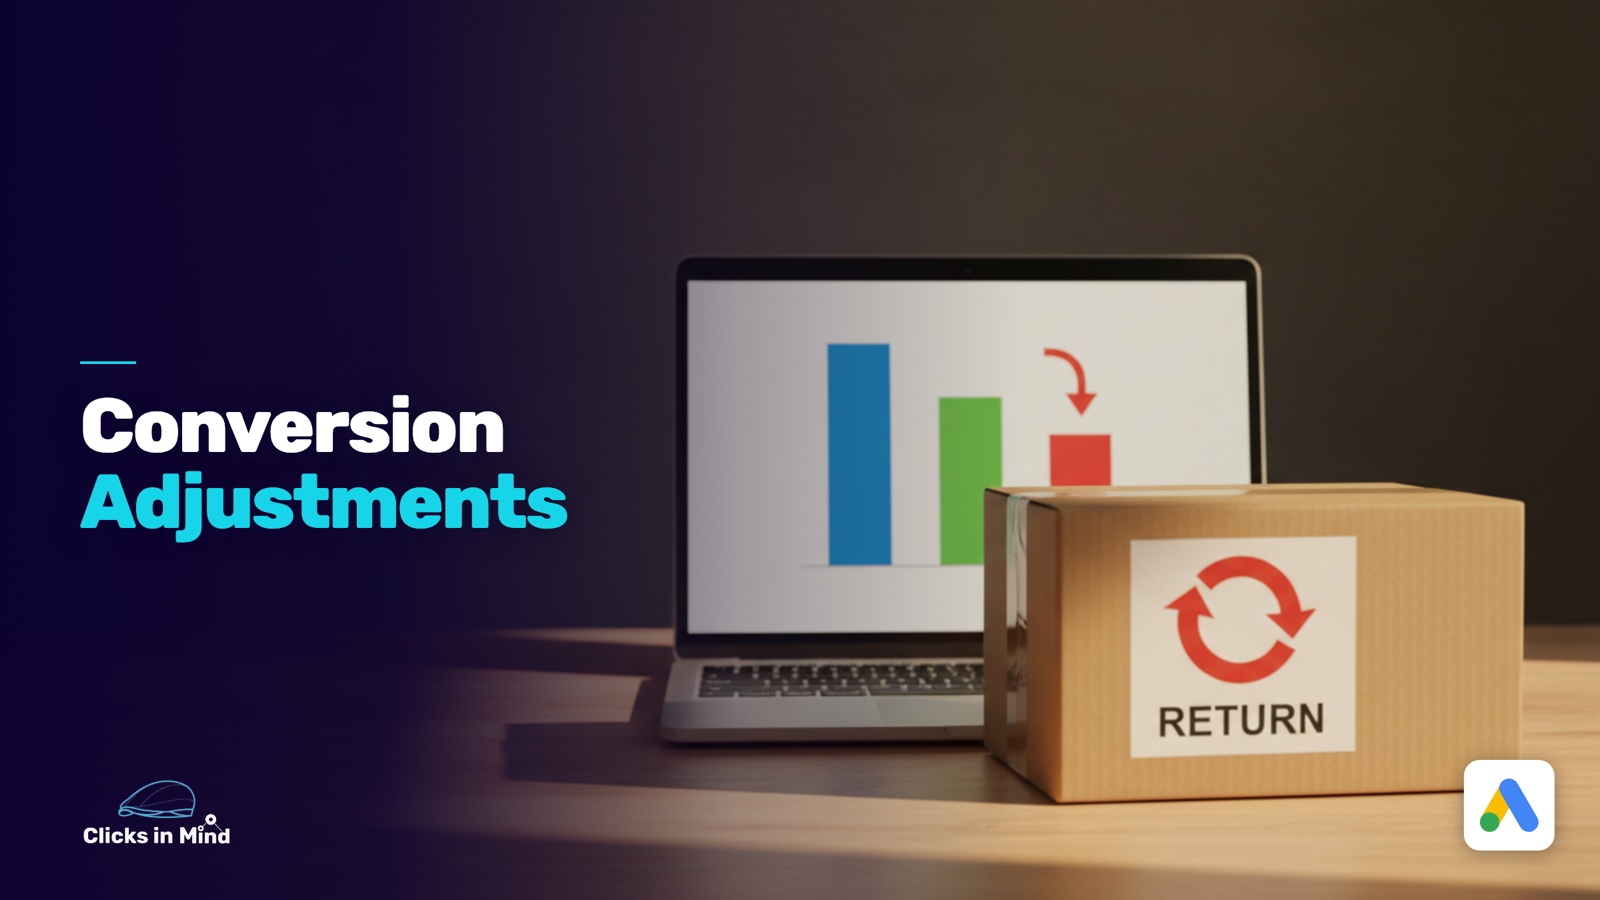
Contents What are conversion adjustments?
Conversion tracking is the foundation for automated bidding in Google Ads, and by extension for every campaign that runs on it. But a lot can still happen to an order after it’s been placed, and sometimes the tracking itself gets things wrong. That’s exactly what conversion adjustments are for.
In this post, you’ll learn everything you need to know: what they are, when and how to use them, and why they’re worth the effort.
The essentials at a glance
- What are conversion adjustments? A way to correct individual conversions in Google Ads after they’ve been recorded. You either change the value or remove the conversion entirely.
- When do you use them? For returns and cancellations, value changes after the purchase, fraud and chargebacks, spam leads, and cases where tracking captured the wrong value for individual orders.
- What do you need? The order ID or the click ID has to be stored with the conversion. You can then upload the corrections to Google Ads as a spreadsheet, through a scheduled Google Sheet, or via the API straight from your ecommerce platform.
What are conversion adjustments?
Conversion adjustments are corrections you make to individual conversions that Google Ads has already recorded. Their purpose is to keep the conversion data in your account in line with what actually happened in your business.
At the moment of conversion, the tag only sees the cart that was just ordered. Whether the items get returned, the payment falls through, or the value was passed incorrectly only becomes clear later.
Without a correction, Google learns from that data as is. If an order in the account carries an inflated value, Smart Bidding reads it as an especially good click and bids more on similar clicks.
There are two types:
- Restatement: The value is updated, and the conversion still counts. Use it for partial returns, discounts applied after the sale, or leads whose real deal value is now known.
- Retraction: The conversion is removed entirely, count and value. Use it for full cancellations, fraud, chargebacks, and spam leads.
Both types apply retroactively to your reports. The new value replaces the old one across every date range, and the original stays visible through the “Conversion adjustment” segment.
When should you use conversion adjustments?
You use conversion adjustments whenever a conversion in your account tells a different story than your backend or CRM. Five situations come up again and again:
- Returns and cancellations. The most common case. If an order is fully canceled or the entire shipment comes back, the conversion is removed with a retraction. If only part of it comes back, a restatement sets the value to what the customer kept. The higher your return rate, the wider the gap between your account and reality.
- Value changes after the purchase. A discount code applied after checkout, an upsell from the customer’s account page, or a subscription that upgrades to a bigger plan. The conversion stays valid, and a restatement sets the new value.
- Fraud and chargebacks. If a payment is reversed or an order is flagged as fraud, there was never any revenue. The conversion is removed with a retraction.
- Spam leads and lead values. With lead forms, the value at the time of conversion is usually an estimate. If a lead turns out to be spam, a retraction removes it. If the lead turns into a deal, a restatement sets the actual deal value, and Smart Bidding learns which clicks lead to deals.
- Values tracked incorrectly. If you notice that tracking passed the wrong value for certain orders, you can restate those conversions to the correct value.
If a tracking error affects all conversions over several days, a data exclusion is the right tool instead. Adjustments are for individual conversions; data exclusions are for time periods.
You want more results with Google Ads?
Get a free Google Ads Reality Check: a compact video (about 10 minutes) showing where budget is slipping away in your account and what to change.
Get your Google Ads Reality Check →
What do you need for conversion adjustments?
Conversion adjustments need a key that lets Google find the original conversion. That key has to be stored at the time of the conversion. You have two options: the order ID and the click ID.
The order ID in your conversion tag
The order ID is the order number from your ecommerce platform, which makes it the key every store has on hand. It’s passed as transaction_id with the purchase event and lands in the “Transaction ID” field of your Google Ads conversion tag. On Shopify, Shopware, and most other platforms, the number is already in the data layer of the order confirmation page and just needs to be mapped in Tag Manager.
The order ID has a second benefit: Google uses it to spot duplicate purchases, like when a customer reloads the confirmation page, so the conversion only counts once. You can check that it’s coming through in Tag Manager’s preview mode with a test order. For the details of how the purchase tag is built, see the post on advanced conversion tracking.
Storing the click ID with the order
The click ID is an identifier Google assigns to every click on an ad. It’s appended to your landing page URL as the gclid parameter, or as gbraid or wbraid on iOS. It identifies that one specific click, and by extension the conversion that came from it.
If you keep it in a cookie and write it to your backend or CRM when someone buys or submits a form, you can tie every order to a specific ad click.
That simplifies things a lot: when you export your cancellations, you can pull just the orders that came through Google Ads. And since your system now knows which orders came from Google, the whole process can be automated. For leads, the click ID is usually the key, because a form doesn’t come with an order number.
transaction_id with the conversion. Matching then works the same way it does for an order.There’s one rule for the adjustment itself: if the conversion was recorded with an order ID, Google expects the order ID. The click ID plus the conversion timestamp is the key for anything recorded without an order ID, mostly leads and imported offline conversions.
How to upload conversion adjustments
Adjustments are uploaded as a spreadsheet, which you can either upload manually in Google Ads or feed in automatically on a schedule or through the API. To get started, I’d recommend the manual route with a handful of orders, because it shows you how Google matches each row. Automate after that.
Step 1: Export the corrections from your backend
Pull every cancellation, return, and value change since your last upload from your ecommerce platform or CRM. For each order you need the order ID (or the click ID), the time of the cancellation, and for partial returns the value the customer kept. If you’ve stored the click ID with the order, you can export just the orders that have one.
Step 2: Build the upload file
Google provides templates as a Google Sheet and CSV under “Goals → Conversions → Uploads.” Use the template rather than building your own, because the column names have to match exactly. Here’s how the file is structured:
- The first row holds your account’s time zone, for example
Parameters:TimeZone=America/New_York. - Order ID or Google Click ID: the key to the conversion. Fill in only one of the two.
- Conversion Name: the name of the conversion action, exactly as it appears in Google Ads.
- Adjustment Time: when the return or cancellation happened.
- Adjustment Type:
RETRACTto remove,RESTATEto set a new value. - Adjusted Value and Adjusted Value Currency: only for
RESTATE. ForRETRACT, leave both fields empty or Google will reject the row.
Step 3: Upload and check the matches
Upload the file under “Goals → Conversions → Uploads” using the plus button. Before you apply it, Google shows a preview that tells you, row by row, whether it found a matching conversion. “Not found” means Google has no conversion for that order, either because it came through another channel or because the purchase event never fired.
After you apply the upload, it takes a few hours for the conversions to be removed or updated in your reports. You can verify it through the “Conversion adjustment” segment in your campaign overview.
Step 4: Upload regularly, not just once
A single upload cleans things up but does little for your bidding. Smart Bidding works with data from the past few weeks, so a correction that arrives months later barely moves anything. There’s also a hard limit: Google only accepts adjustments up to 55 days after the conversion.
There are several ways to automate, depending on what your ecommerce platform supports:
- Scheduled Google Sheet: Your backend populates a sheet in the template format, and Google Ads reads it daily or weekly under “Uploads → Schedules.” For most stores, this is the simplest route.
- Automation tools like Zapier or Make: A cancellation in your ecommerce platform creates a new row in the sheet, with no manual export needed.
- Straight from the platform: Some ecommerce platforms and tracking apps send cancellations and returns to Google Ads on their own. Check the settings of your Google Ads integration to see whether yours does.
- Google Ads API: For stores with high return volume or an in-house dev team: adjustments go straight from the backend.
What to watch out for
- The timestamp is the event, not the upload. If you enter the upload date, the correction lands on the wrong day in your reports.
- The conversion name has to match exactly. One extra space or capital letter, and Google won’t find the conversion.
- Your reports will drop after the first run. Conversions and ROAS go down because values that used to count are now gone. Don’t compare periods before and after you started, and hold off on touching your target ROAS until you have a few weeks of cleaned data.
FAQ: Common questions about conversion adjustments
How do I handle a partial return?
You correct a partial return with a restatement. Enter the value the customer kept after the return, and the conversion still counts as a purchase. Only when the entire order comes back is it removed with a retraction.
Can I correct conversions that have no order ID?
Conversions without an order ID can only be corrected if you have the click ID and the conversion timestamp. If both are missing, the conversion stays as it is. Going forward, the only fix is to add the order ID to your conversion tag or store the click ID with the order.
Conclusion
Smart Bidding only knows what happened after the order if you bring that information into the account. With conversion adjustments, your bids follow what actually got sold.
The prerequisite is unglamorous but essential: the order ID in your conversion tag, or the click ID stored with the order. After that, the upload is a spreadsheet you can test once by hand and then put on a schedule.
Thanks for reading all the way to the end, and good luck with your conversion adjustments.
Work smart with Clicks in Mind
You might also like
 Tracking
 New-Customer Tracking and Bidding in Google Ads
How to split new from returning customers in Google Ads: the new_customer signal in the conversion tag, Customer Match, and the new-customer features to steer budget toward real growth.
Read more → Tracking
 Advanced Conversion Tracking in Google Ads
Server-side, Enhanced Conversions, cart data, POAS, and conversion adjustments: the advanced conversion-tracking measures in Google Ads, what they bring and how to set them up.
Read more → Tracking
 How to Set Up Enhanced Conversions in Google Ads with GTM
Enhanced Conversions in Google Ads. A step-by-step setup via Google Tag Manager, plus diagnostics and the em-parameter check.
Read more →You want more results with Google Ads?
Get a free Google Ads Reality Check: a compact video (about 10 minutes) showing where budget is slipping away in your account and what to change.
Get your Google Ads Reality Check